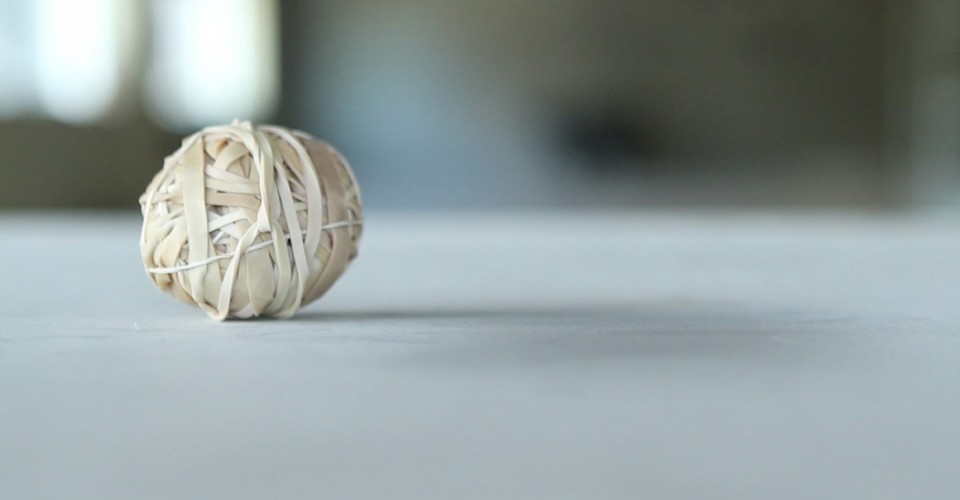
Found wound around our weekend newspapers or broccoli stems, the rubber band can be put to great use in your home. The next time you have a home improvement project to work on, free the rubber bands from the junk drawer and put them to work!
Watch the video here:
6 uses for rubber bands
1. Mark paint levels: Whenever you are done with a painting project, it’s a good idea to hold on to the original can for touch-ups. Simply place a rubber band around the approximate paint level. This way you can quickly spot how much you have left.
2. Remove stripped screws: Not being able to remove a screw because of a stripped head is frustrating. When this happens, simply place the flat side of a rubber band over the stripped screw head and place the tip of the screwdriver on top of the rubber band. The band’s grip will allow you to twist the screw out of place.
3. Prevent paint drips: When painting directly from a paint can, place a rubber band underneath the can so that part of the band stretches across the can opening. After you dip your paint brush into the can, wipe it against the rubber band to remove excess paint.
4. Avoid wall scratches when removing nails: Criss-cross a rubber band so that the “X” rests on top of the top of the hammer head. When you go to remove a stuck nail, the rubber band will protect the wall from hammer marks.
5. Keep tools from sliding: When working with hand tools on a sloped surface, like a roof or driveway, keep them from sliding down by wrapping them with rubber bands. Place the bands over parts of the tool that won’t interfere with the functionality. You can even leave them on for future use.
6. Erase wall measurements: Don’t worry if your pencil lacks an eraser. When it’s time to erase pencil markings on a wall, simply use your rubber band like you would an eraser. In fact, some pros actually wind a rubber band around the end of a pencil so it’s always handy.
Click here to watch more of our videos!


