
One of the quickest ways to refresh your kitchen is to update your kitchen cabinets. While cabinet replacement is an option, painting your existing kitchen cabinets is an easy way to quickly update the look and feel of your kitchen without the cost of new cabinets. With the right supplies, a complete kitchen cabinet makeover can be completed in a single weekend! Follow these easy steps to get your DIY home improvement project started:
Prep the room and ready supplies
Before you begin to dismantle your kitchen, make sure you have the right supplies on hand and prepare the entire room to protect your countertops and other surfaces. A few key supplies you will need include, paint and primer for the cabinets, liquid de-glosser, sand paper, a vacuum, drill, drop cloths, and any new hardware you plan on installing. Make sure you protect all exposed surfaces with tape and drop cloths before you get started.
Dismantle the cabinets
Cabinets must be taken apart in order to be remade into beautifully refreshed cabinets. If you are planning to reuse the hardware, make sure you methodically organize everything. Ziploc bags can be your friend to help keep everything straight. Label all door fronts with a marker so you know exactly which door goes with which cabinet. The easiest way to do this is to mark the inside part of the frame (where it won’t get painted and you won’t see it afterwards) and use the same notation for the cabinet.
Clean and prep cabinets
Lay your cabinet doors in a well-ventilated area. Elevate the doors just off the floor using sawhorses, a worktable or raise them on level bricks. Next, if you plan on stripping the old paint you can start sanding with sandpaper or use liquid sander de-glosser, which will help remove paint or wax finishes. Be sure to wipe away any residue after application and wear rubber gloves to protect your skin. A light sanding can additionally help remove old paint and give you a clean slate to work with. After thoroughly removing any leftover dust, apply 1 to 2 coats of primer. If you plan on staining your cabinet doors, bring one of your doors to your local home improvement store and have a salesperson recommend the best stain for your type of wood. Very often they can provide you with sample stains for you to experiment with.
Apply the paint
After the cabinets are primed, you are ready to apply your paint. If you don’t know what type of brush to use, check with your local paint supply company. Kitchen cabinets endure splashes and spills so a semi-gloss or gloss finish would be most appropriate. Apply one coat, lightly sand and clean, then apply your second coat. For a complete look, paint inside the cabinet boxes as well as any exterior elements.
Replace hinges and pulls
A hardware upgrade, versus utilizing existing hardware, can significantly update the look of your cabinets. Finding hardware that is the same size as existing hardware will save you time and energy without having to putty the old holes. If you are on a tight budget or want to keep your existing hardware, consider giving them a fresh coat of spray paint. There are dozens of metallic options on the market as well as a variety of colors. Always spray paint in a well ventilated area. Once all hardware has been replaced, re-attach the cabinet doors and admire the look of your new kitchen!
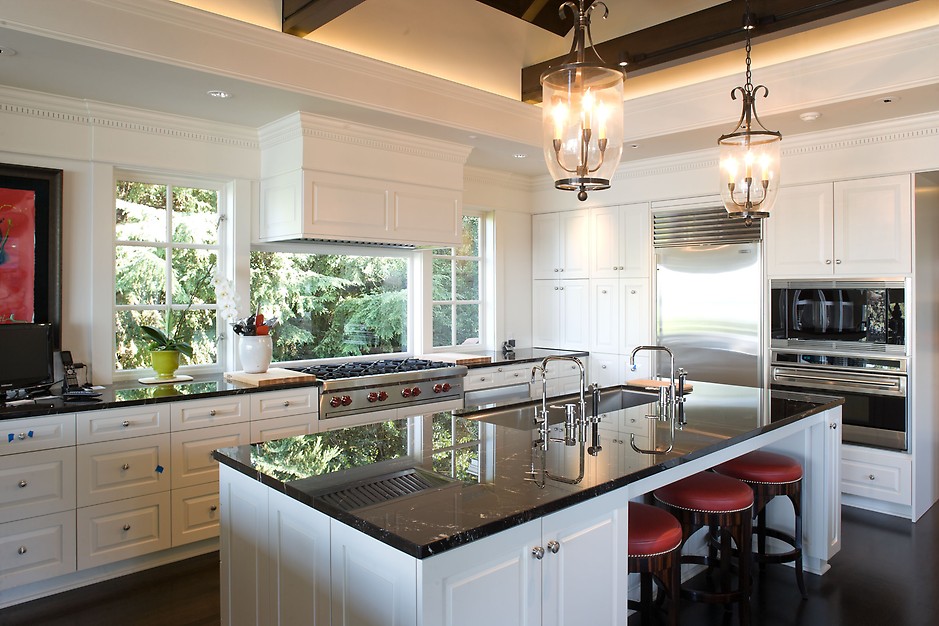
Top image credit: Graciela Rutkowski

